October 10, 2011

Curtain Call

It’s amazing how sometimes it seems that nothing happens around the house. A whole week will go by and I’ll look around and realize that I had about a dozen plans and none of them came to fruition…
Well, I’m glad to say that, despite how freaking busy we both were, that was not the case last week! Frankly, I’m well behind on my post writing (in case you didn’t notice—but you probably did). For example, we’ve put up two window treatments, removed weed-block from the backyard, purchased curtains for another room, and I’ve got all the supplies I need to reupholster the dining room table. That in addition to working full time, me going to school, and both of us attempting to have a social life. And there’s more. Although, I can’t remember it all right now, admittedly…
Anyhow, let’s start off with what we did to the lower living room. Well, I never really had any intention of putting up curtains in that room, but Denny felt strongly about it, so like a good wife (who was tired of hearing her husband beg her to put up window treatments) I went to Ross and looked for a rod to match the one up in the dining room. I couldn’t find the exact same rod, but I found something similar by the same company.
However, curtains at Ross? A bust. A total no-go. So, off to Target I went (are we sensing a theme? I’m a total cheap-o when it comes to curtains—but that’s another story for another day). I brought along with me my cute but demanding husband. I had to bribe Denny with the new Transformers movie, but I got him to go along with me on my curtain shopping expedition.
We (yes, we) finally decided on some plain, lightweight, linen-like curtains in a shade of pale aqua-blue. After some blah-blah-blah, they were hung and we stood back to admire.

I really like how they almost match the ones upstairs. And although I didn’t really feel that the living room was that exposed, I have to admit, I’m liking being about to draw the curtains and get this kind of privacy:
However, I had one little problem with this arrangement (of course, because when am I ever 100% satisfied with any project?). You see, the curtains in the dining room are satiny and have subtle stripes. The curtains down here? Matte and without adornment. And the curtain rods in the dining room have fancy, “carved” finials (knobs? I’m not sure the exact terminology). The rod ends downstairs were simple and round.
See what I’m getting at? I kind of got the feeling that the living room curtains were playing the ugly step-sister to Cinderella. Hmm…that was an odd way to describe it, but I think you get the picture. So, I went ahead and switched out the finials for something slightly more snazzy.
Although these hexagonal knobs aren’t quite as fancy as the carved knobs to be found one room over, I think they’re slightly more interesting. Just enough that I don’t feel like they’re the ugly step-sister anymore. Slightly plain cousin, perhaps, but by no means ugly.
And as far as the curtains go, I really like the material they’re made out of, but I think they need just a bit more oomph. So I’ve bought some ribbon which I’m planning on attaching somehow, kind of like this!
Although, probably not with pompoms. Probably.

October 5, 2011

The Lovely Mantel and the Ludicrous Slippers

Lately it’s felt so like fall around here. I swear, the first day back from Labor Day weekend to the usual grind the weather turned cooler, the leaves began to change, and it became time to pull out the Oogies.
Oh, you aren’t familiar with the Oogies? The Oogies (as they are affectionately known in our household—Denny’s name for them, not mine, by the way) are a pair of slippers given to me by my dear friend Amanda several Christmases ago. They’re basically the villain from one of my favorite movies (The Nightmare Before Christmas). Only, they eat your feet.
See?
Anyway, Oogies are a sure sign of cold weather a-brewing. So, armed with toasty Oogie feet and a cup of hot cider, I got to looking around the house, just itching to make it feel more fall-y. We already have a ceramic pumpkin on the dining table and Nightmare Before Christmas coasters out, so my sights drifted toward the mantel. The only problem is that our mantel is very shallow, which means that everything on it has to be less than four inches thick. So I immediately began rounding up some candles and miscellanea.
But something still was missing…Aha! Art. Art was missing. So, emboldened by my past decision to make custom art, I once again dove in and DIY-d it.
First, I collected this frame, which although featuring a cute doughnut-loving pooch, wasn’t getting much use.
I considered painting something, but in the end decided to round up some old calendars (I save every year, for some reason) to see if anything popped out at me in the way of Autumnal décor. And it turns out that it did, in this particular calendar…
Yes, I own a Wiccan calendar. Several, in fact. And before you get any ideas: No, I don’t fancy myself a witch. But I do fancy the artwork and beautiful essays on nature that come with each month, so I’ve bought several editions throughout the years.
In any case, I flipped through it and found a not-too-spooky, not-too-Halloweeny piece in (surprise) the month of October. I liked that it was just eerie enough for Halloween, but could endure through November, as well, without looking too much like the fall version of Christmas lights left on the porch until April.
In a few easy steps, I cut out the October picture, backed it with some metallic green scrapbooking paper, and popped it into the previously pooch-occupied frame. Voila!
Then, I spent the next hour (yes, a full hour) putting together this mantel.


It took an hour because I kept putting things up then taking them down...then putting them back up...then tweaking them by a centimeter or so. I got quite obsessive about it. Anyway, though, I’m quite pleased with the result, especially since it’s comprised entirely of things I had lying around the house (free = awesome). Oh! And I cut this fire art out of the Witches Calendar, too (December).
Everything looks really lovely when the candles are all lit and they’re all aglow.

See? Very cozy. My only complaint with the arrangement is that the mantel ledge is too shallow to fit a mirror on, too. I can just imagine how lovely it would be with twice the candlelight reflected back into the room. Uber-cozy. Oh, well. I’m already pestering Denny about making a mantel extension, so maybe by Christmas time we’ll be able to achieve my mirrored-candle dreams. Wow. I just re-read that sentence and, boy, does it seem silly. Some college students dream of solving world hunger, or finding the cure for cancer. Big, world-changing stuff. Me? I just want a mirror on my mantel. Doesn’t seem like much to ask for, does it? ;)

October 3, 2011

Show 'Em Some Love

Today, I am going to forgo the usual Moody Monday post in favor of something a little more…seasonal? Once a year, a wonderful month comes along. A month in which the unexpected happens! A month of hope and spirit and strength! A month which is full of…boobs!

Yes, I said “boobs.”
Because it’s October and, in case you didn’t notice, October is Breast Cancer Awareness Month! Fall is my favorite time of year anyway and it’s become only more so with the addition of this national recognition. Because now not only is it time to watch football again, but it’s also time to watch football players sporting pink gloves and shoes. And not only is it time to stock up on packets of apple cider at Safeway, but it’s also time to make a donation to breast cancer research while getting rung up for it. This month makes it easier than ever to be aware and help contribute to breast cancer prevention efforts and further research for a cure.
So in honor of Breast Cancer Awareness Month, I’m making my first October post about boobs. Now, don’t get too excited. This is a home improvement blog after all, so putting up pictures of knockers just wouldn’t be in keeping with the spirit of what I’m trying to do here. However, I have been meaning to replace these suckers for a while…
Not seeing the connection? Well, you will shortly. You see, a while back Home Depot was having a killer sale on light fixtures and I was trying to find an inexpensive swap for those hideous triple-spotlights in the kitchen. And what should I find on an end cap but these!
Yep. A set of boob lights. Now, before you get the wrong idea, I want to make it clear that I did not come up with this term. These flush-mount lights have been not-so-loving dubbed this by countless designers and interior decorators the world over, and it’s not difficult to see why.
Boob lights get a really bad rap by decorators. I don’t know if it’s because they’re cheap or if it’s because they resemble a certain part of the female anatomy, but boob lights are pretty much the clowns of the design world—and by clowns I don’t mean playfully-laughed-at-circus-performers, but more like shudder-inducing-nightmares. For some reason, there’s just no love for the boobs.
However, I like to think of myself as a little more compassionate towards this oft-ridiculed fixture. It’s my opinion that boob lights may not be the trendiest or the prettiest lights on the market, but they definitely serve their purpose and are often a great solution to weirdly angled or low ceilings. In short, I embrace the boobs (I’m probably getting exiled to “Crappy Taste Island” by all the other decorators right now…but that’s my opinion and I’m sticking to it!).
Anyhow, having now pleaded my case for the boob light, I’m now going to tell you that I (gasp!) actually had Denny put up two of them last week.
Down came the old ugly lights…
Up went the new lights!
And now we have our very own set of boob lights hanging in the kitchen. Okay, okay, I know that picture might seem a little…uh, graphic, so I’ll show you some other angles to give you a better picture of the vast improvement they’ve brought to our home.


What do you think? Do you think they’re ridiculous? Or do you, like me, love this enlightening pair? Have I inspired you to install boob lights in your own room? Or maybe just to go out and get some apple cider mix (don’t forget the donation, please)? In any case, Happy October! I hope that you’ll take advantage of this month to stop and smell the mums (since roses are out of season), sip some hot apple cider, and show all the boobs (and boob lights) a little love. :)

September 30, 2011

Pleasantly Surprised

It’s been a very “light” kind of week. By which I mean, of course, that Denny and I have been very busy changing out any light fixture that we can get our hands on. However, this one was all mine (you’ll see why I’m so quick to claim it after I show you the pictures).

See this light? It’s not been a favorite of either Denny’s or mine. Pretty much from the moment we bought our house we’ve been contemplating switching it out. For a long time it was even uglier than this picture shows, due to a bare CFL inside that crackly globe. I took it upon myself to switch out the curly-CFL for a round (but still energy efficient!) one long ago. And…meh? It was somewhat better. But I still wasn’t impressed by that bare-bulb kind of look.
So, after being mildly annoyed with the look for a couple of weeks, I decided to swap out the bulb yet again, this time for something crystal clear and…uh, well, admittedly, somewhat less efficient. Fine! I’ll admit it. In this case, I chose esthetics over the environment. What a bad Seattleite I am.
AnyWAY, I was feeling just the tiniest bit bad about this decision until I flipped the switch on the light and this happened:
I’ve got to admit, once I saw this groovy little light show, all my guilt immediately disappeared. Because, dudes, this light fixture just went from so-so to psychedelic (excuse my hippie-speak, if you please).
And at night, it only gets better…
Whenever I turn it on now, I’m torn between staring into its glowy depths and being all like “Whoa, duuuuuuude” or flitting about like Ariel singing “Part of Your World.” It’s equal parts undersea grotto and electric lightening ball, but either way, both Denny and I are now so completely enamored of this light that we’ve sworn to never take it down. Ever.

September 29, 2011

An Adventure in Abstract Art (aka: An Alliterative Advice Article)

Go ahead and say that five times fast! You know you want to...


Way back when, practically in the Dark Ages, I found this photo at HGVT.com. Of course, as you all know by now, it was the driving inspiration behind the little remodel that we did for Amanda’s living room last weekend. Everything about it (except for maybe that picture of those somewhat suggestive peaches) screamed, “I belong to Amanda!” And who am I to deny screaming inspiration when it whacks me in the face?
So, I right away began analyzing what particular elements I could take from this room and replicate in Amanda’s. One of the pieces that was an obvious cornerstone around which the whole room was built was, of course, that deer over the mantle. However, I knew that we were probably going to have to settle for something somewhat less ceramic (because ceramic animal heads = EXPENSIVE, in DesignLand) and I also knew that the odds of us being able to paint the top half of Amanda’s mantle orange were also slim-to-none. I began searching for alternatives.
Right away, the idea of going to Cardboard Safari for a deer head occurred to me. That part didn’t take much thought—I’d long been admiring their unique cardboard version of taxidermy (odd, but true). Although, how to create a lovely, orange, textured background for said deer…well, that took a bit more mulling over. First, it had to be removable. Stretched canvas? Hmm…probably not. Giant orange tapestry? Uh, NO. A large picture frame? Alright, that’ll work. My next thought was of what to frame. I played around with the idea of finding some interesting fabric to use as a backdrop but, let me tell you, finding a good orange fabric that’s not covered in pumpkins or lurid Hawaiian flowers is quite the challenge.
In the end, I decided to try my hand at painting a backdrop. I went hunting through my art supplies and ended up on the floor in front of the TV (old habits die hard) with some textured white cardboard, a collection of old orange and yellow acrylic paints, some paper plates, and a single 1” wide paintbrush.

I used the paper plates for mixing the colors to create different hues and shades (thus expanding my selection from 6 to about 20) then began randomly applying paint with varying lengths of strokes.

I knew the dimensions that my final work needed to be, so I just kept them in mind as I went along, making sure to extend the paint about two inches beyond those marks. My reasoning behind this was that I didn’t want to have any obvious “starts” and “stops” in my painting; I wanted it to feel very organic and not too contrived.
It’s also worth noting that I used a dry brush and didn’t stop to rinse it between colors. This resulted in lines that faded into each other better—much less crisp, more ragged. After mixing and brushing for about twenty minutes (just long enough to cover every speck of white and for me to be satisfied that everything blended well), I ended up with this:

At this point, I was still a little unsure, but once I got out my utility knife and trimmed the edges to the desired size, I began feeling much better about my decision to make something of my own instead of buying.

It turns out that they ended up being just what Frank (Amanda’s name for her new deer friend) needed. Just the right amount of pop, without being too busy and competing for attention.
So, what’s the moral of this story? “Don’t be afraid to make your own art!” I was pleasantly surprised by this experience and I’ll definitely feel less hesitant to try making something of my own next time instead of constantly buying things to fill that empty space on the wall. The other moral of the story was “Even when Ashley has a dedicated art room she still paints on the floor in the living room”—but I guess you had probably already picked up on that somewhat-ridiculous message. ;)

September 28, 2011

This Little Light of Mine

So I have the distinct feeling that blogging is about to get quite a bit harder. Not the taking pictures and writing part, which I like to think that I’ve so far managed okay at, but the finding time to actually do it. Reason? Well, I’m a student. And school is suddenly back in session. This means that my schedule has been turned on its head and that 9:30am photo editing and an 11 o’clock post is probably not going to be a given anymore.
However, having said that, I do hope to continue to do a post a day (or as close as I can get to that). The only difference will be that it might go up at 8am or it might go up at 10pm. You’ve been warned.
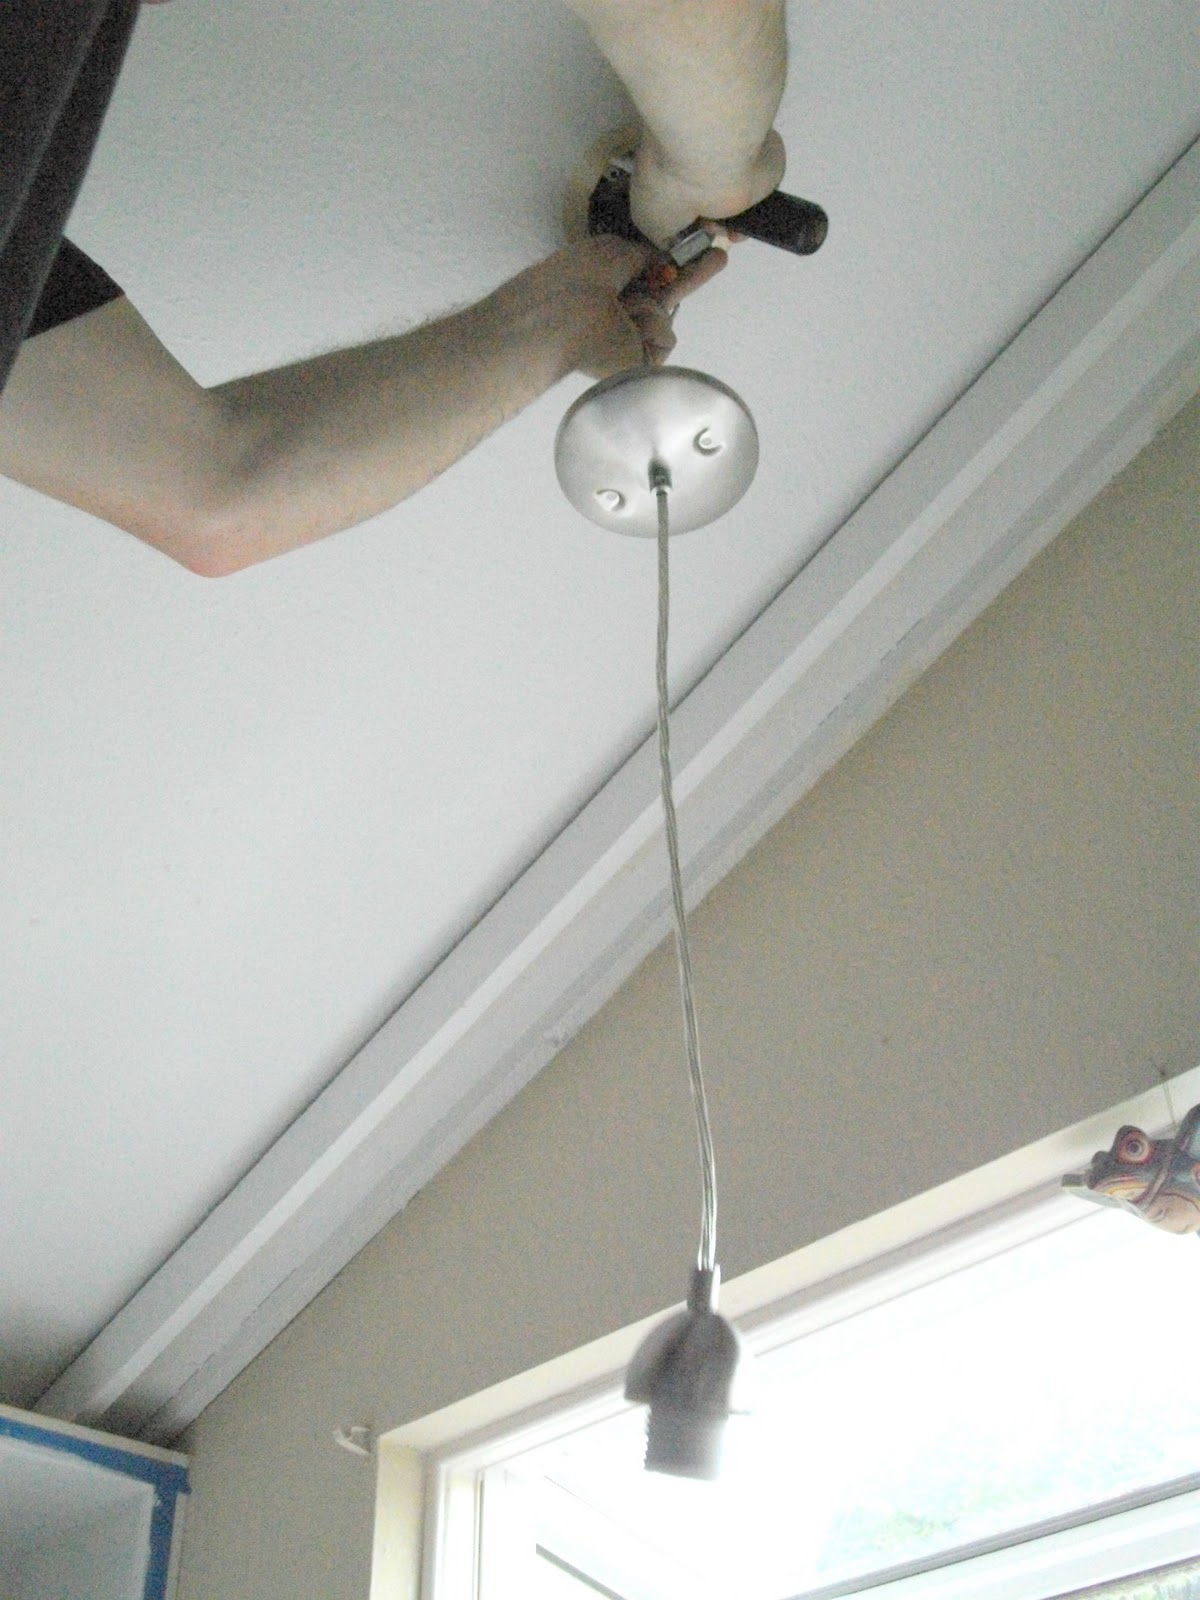
Now, onto the real subject of today’s post, which is: We finally got rid of that out-of-place pendant light above the kitchen sink. Huzzah!


This is what used to hang over the sink. Now, it’s not entirely hideous by any means. In fact, in a different style of room, it could be quite lovely. Granted, it needs a good bath, but once the heavy layer of grime is removed, the warm glass would probably glow a little brighter and the detail along the edge would probably be a little spiffy-er.
But, as you probably can tell, it’s so not my style. Almost from the moment I laid eyes on it, I knew it had to go. So when Denny steered us into the lighting aisle of Home Depot the other day (voluntarily, might I add!) I took the opportunity to look through the pendant shades and see what kind of selection was available. I originally liked a simple clear, seeded-glass shade, but Denny pointed out that the fact that it was so clear would highlight the bulb too much…so I crossed it from my list. But when he jokingly held up a subtly patterned, white oval shade, it was love at first sight (he eventually came around to admiring it, too). We ended up coming home with it and a new nickel-finish fixture to replace the old iron-colored one.
When we got home, we wasted no time in getting the thing installed (it was late afternoon and our daylight was slipping away). Of course, the easy part was tearing down the old light.
It took longer to preheat the oven for dinner (pizza) than for Denny to dismantle and pull down the stained-glass fixture. (And sorry for the poor quality of that picture...I honestly don't know what happened to it.)
Next, we measured out how low we wanted the new light to hang. This was a very precise process which involved me holding the light up at various heights while Denny stood under it as if he were going to do dishes. If there was enough space above his head for him to comfortably maneuver, it was considered good enough. Wait, did I say “precise”? In hindsight, maybe not so much.
Once we had our height measured out, we cut the cord to the right length and…hit a snag.
See those little flags on the ends of the wires? They were the labels for which wire went to ground and so forth. And we thoughtlessly hacked them off without marking out what was what. Once we realized what we’d done, there was some panicking and a small bit of cursing, followed by me eventually realizing that someone at one point used some identifying characteristic to label the wires and if they could find them, so could we. So I got started on closely inspecting them and, sure enough, the wires had very, very tiny, different-colored stripes on them. We matched them to the wires that still had flags on them and soon enough we were ready to go again.
After a little bit of finagling, Denny got the fixture wired up properly and in no time at all we were putting on the new shade.

Voila! The lighter finish on the fixture and the bright white of the shade made all the difference in the world. What was previously a fairly-useless pendant is now a fully functional and lovely bit of decoration above the sink. It lights up that area much better than the old one and I can’t help it…every time I step into the kitchen now I go and turn it on, energy bill be damned. Those swirling lines in the glass remind me of sunlit cloud-ripples, and they make me smile every time.

September 27, 2011

An Easy Stenciled Pillow How-To

There were some things in my design for Amanda's living room that just seemed obvious. The baskets for added storage, the hanging lanterns for light, a rug to anchor the space…All of these things required little searching on my part. They just presented themselves as part of the design right from the get-go. Some things, however, like the artwork and the design for the pillows, required a little more research. However, when I first saw this dog silhouette pillow from West Elm, I knew right away that I wanted to incorporate something similar into Amanda’s space.

I right away began searching the internet for the right dog silhouette. Since I planned making a long pillow (I think the dimensions were 12”x28”) I needed a longish silhouette. The obvious choice would have been a dachshund, but since Amanda and Kelly have one large lab-Great-Dane mix and a smaller Heinz 57 dog, I wanted something a little more playful and a lot more athletic. I eventually stumbled upon this one from ShutterStock.com:

At this point, I had a rough idea of how I wanted to create this pillow, but it was really guess-and-check from here on out. First, I made the pillow cover. This was really easy since I bought a pre-made pillow form at Joann’s. Basically, all I did was buy some fabric, make some basic measurements (namely, mark out a half-inch less than the size of the pillow form on all sides, so the cover would fit nice and tight), then I sewed two of the sides and left the other open. I left the one side open so I could lay it flat to do the stencil and so that I could put a piece of cardboard between the fabric, thus preventing it from bleeding through.
Next, I printed off the silhouette at what I thought was the appropriate size. Then, I gathered some basic materials.

Something else that I used which isn’t pictured here (and which actually was the most interesting tool) is a small, fingertip razor from Fiskars. On, second, thought, I’d better include a picture of it…See? Very sharp and very accurate. I have to say, it was crucial to getting the stencil cut out properly.

To replicate the West Elm design, I had the idea that I’d use some leftover contact paper from my window project to create the actual stencil, which I’d then put directly on the fabric and paint the inside, creating the blurred sunset-colors for the dog while still maintaining a sharp edge. And, I’m happy to say, it worked better than I anticipated!

First, I cut out the dog print and then used some double-sided tape to stick it to the back of the contact paper. Something which I did not think of was that since my stencil was going to be adhesive, I’d eventually have to flip it over to stick it to the fabric. In hindsight, I should have mirrored the silhouette, which would have resulted in it being the way I had originally intended, but such is life! And, anyway, I think it turned out pretty well as it is. (In fact, up until now, I bet the only people who knew it’s actually facing the wrong way are myself and Denny! Oh, well—secret’s out!)
After sticking the silhouette to the contact paper, I traced it with a Sharpie. I then removed the original silhouette and voila! A dog shape on contact paper! Let’s hear it, people: “Ooooh! Aaaaah!”

Next, I got out my tiny detail razor and slowly and carefully cut along the traced lines. It’s worth noting that I did this on a heavy-duty cutting board. If I hadn’t, I definitely would have ended up with dog-shaped scratches on my table.
After I finished cutting the silhouette out, I removed it (carefully to ensure that I didn’t warp or tear the stencil) and ended up with this lovely template for my dog pillow!
Alas, this is where my handy photos end, because it was at this point that I got extremely excited and rushed along with the rest of the project without taking any more pictures. However, I can give you the verbal breakdown of how the rest of the project went.
First, I trimmed a little closer around the stencil with a pair of scissors, so there wasn’t quite so much contact paper going on. Then, I gently removed the paper backing and attached my stencil to my fabric. Next, I used some fabric paint (in orange, copper, and yellow) and some small foam craft brushes to randomly go about the stencil’s edge to create the outline. I was very careful about how much I moved my brush when it was in contact with the stencil because I wasn’t sure how well it would hold, but I’m pleased to say that the contact paper held very firmly and I probably could have been a lot more rough with it.
After getting the outline done, I used my paint to swoosh around the different colors, blending the edges and trying not to be too patterned. I wanted the whole thing to look very organic, not like I’d thought about color placement too much.
Once the dog silhouette was entirely filled in, I very carefully peeled back the stencil and threw it away. Denny almost had a heart attack when he saw me detaching the stencil while it was still wet, but I assured him that it was to create a more precise, crisp line—and he eventually saw that I was correct.
I let the paint dry overnight. The next morning I was still really excited…but I also realized that my dog silhouette didn’t quite fill up as much space as I’d originally thought. I instantly thought that I’d need to make some kind of border on the outside edges to cut the white-space down. I thought of a lot of different options, like painting a border, sewing the edges an inch in to create a flat border, or even adding some ribbon to the edges. However, when I got to Joann’s and started looking around, I found some flat carved-shell beads in the jewelry aisle that were perfect. I took them home and messed around with different patterns for about five minutes before deciding on this one.
To make sure that the border ran in a perfectly straight line, I used some two-inch painter’s tape to mark out a line, then began sewing the beads on right along the edge. I didn’t take any pictures because I did it by myself one afternoon and it was definitely a two-handed job. Once the borders were complete, I stuffed in the pillow-form and used a ladder-stitch to sew up the open end of the pillow and the rest is history!

PS: If you have any questions or if something seems confusing, please leave a comment or send me an email and I’ll try to clear things up. This is my first detailed how-to, so I’d really appreciate any comments you have about it. Thanks!